
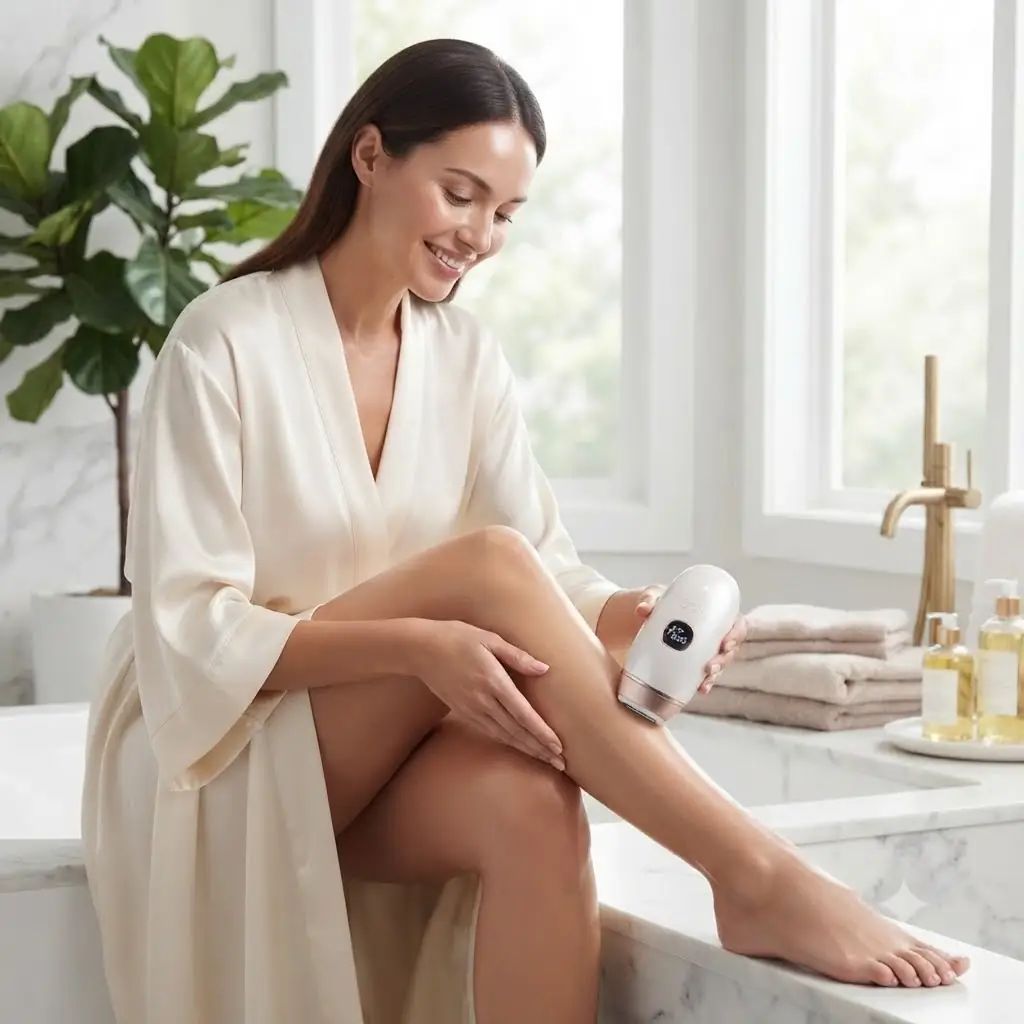
An at-home IPL device only delivers real hair reduction if you use it correctly and consistently. The good news is that the routine is simple once you know the steps. This guide walks you through exactly how to use an at-home IPL device — from prepping your skin to spacing your sessions and caring for skin afterwards — so you get the best results and avoid the common mistakes that make people think IPL does not work.
The short version: Shave and clean the area, patch-test, then treat on the highest comfortable energy level in slightly overlapping passes. Repeat every one to two weeks for the first 8-12 sessions, moisturise and use SPF afterwards, and never wax or pluck between sessions.
Before you start: the prep checklist
Good preparation is most of the battle. Before your first session, confirm you are a suitable candidate — IPL works on dark hair with light-to-medium skin, and is not effective on blonde, red, grey or white hair or safe on very dark skin. Our skin tone suitability guide shows exactly where you sit, and it is worth reading whether at-home IPL is safe before you begin so you use it correctly from day one.
- Shave the area. Freshly shaved, so the light reaches the follicle rather than burning surface hair. Do not wax, pluck or epilate.
- Clean and fully dry the skin. Remove any lotion, deodorant, makeup or perfume, which can block light or cause irritation.
- Patch-test. Flash a small hidden area first and wait 24 hours to check your skin reacts well before treating a whole region.
- Remove or cover moles and tattoos. Never flash directly over dark moles, freckle clusters or tattoos.
- No recent tan. Avoid IPL on sunburnt or recently tanned skin, and skip self-tanner in the days before.
The step-by-step routine
Once your skin is prepped, the treatment itself takes only a few minutes for small areas and up to twenty minutes for larger ones such as the legs.
- Select your energy level. Start at a lower setting to find your comfort, then work up to the highest level you can comfortably tolerate. Higher energy within your comfort range means better follicle disruption — under-powering the device is a top reason results disappoint.
- Choose your mode. Many devices offer a single-flash mode for precise areas (upper lip, bikini line) and a glide or stamp mode for large areas (legs, arms).
- Place the window flush to the skin. The safety sensor on most devices will only fire when it has full skin contact. Hold it flat against the area.
- Flash and move in overlapping passes. Treat one patch, move to the next with a slight overlap so you do not leave untreated gaps, and avoid double-flashing the same spot in one session.
- Cover the whole target area methodically. Work in a consistent pattern (for example, top to bottom) so you know you have covered everything.
- Track what you treated. Note the date and areas so you stay on schedule — consistency is what makes IPL work.
How often to treat: the schedule
IPL is gradual because hair grows in cycles and only follicles in their active phase respond to each flash. That is why spacing sessions out matters. A typical plan is one session every one to two weeks for the first 8 to 12 treatments, roughly across twelve weeks, followed by maintenance top-ups every few weeks to months as needed.
Do not try to speed things up by treating daily — it will not work faster and is not recommended. For a full breakdown of what to expect week by week, see our honest look at whether at-home IPL works and its results timeline. The single biggest predictor of success is simply finishing the initial course instead of quitting at week four.
Aftercare
Looking after skin after a session keeps it comfortable and reduces any risk of irritation.
- Moisturise gently with a fragrance-free lotion to soothe any mild warmth or pinkness.
- Avoid heat for about 24 hours — hot showers, saunas, steam rooms and intense sweaty workouts.
- Use SPF on any treated area that will see sun, and avoid deliberate sun exposure or tanning between sessions.
- Skip harsh actives for a day — retinoids, acids, strong exfoliants and perfumed products on the treated area.
- Shave, do not wax, between sessions if regrowth appears — the follicle root must stay in place.
Area-by-area tips
The core routine is the same everywhere, but a few areas deserve extra care. On legs and arms, use glide mode and a consistent pattern to cover the large surface efficiently. On underarms and the bikini line, hair is often coarser and denser, so it can respond well but may sting slightly more — a device with a cooling window helps. On the lower face (upper lip, chin, jaw), only treat if your device is approved for the face, use a lower energy level, and stay well away from the eyes and brow. Never use IPL around or above the eyes.
Mistakes to avoid
Most disappointing IPL experiences come from a handful of avoidable errors: keeping the energy too low the whole time, skipping sessions or stopping before the full cycle, waxing or plucking between treatments, not shaving beforehand, and expecting permanent removal rather than long-lasting reduction. Get those right and you give yourself the best possible outcome. A well-designed device makes consistency easier — FlashSmooth Core has adjustable energy levels so you can safely work up to an effective setting, plus ice-cooling on the treatment window that makes higher intensities more tolerable on sensitive areas.
The bottom line
Using an at-home IPL device well comes down to preparation, the right energy level, overlapping coverage, a consistent schedule and simple aftercare. Follow the steps above, finish the initial course, and judge your results at weeks 8 to 12 rather than after the first session. Do that and IPL rewards you with finer, sparser, slower regrowth and a low-maintenance baseline you keep with occasional top-ups.
Ready to start your routine? FlashSmooth Core is built for exactly this, with adjustable levels, ice-cooling and a 90-day money-back guarantee so you can see how your own skin and hair respond, risk-free.